Experiment22 - Scans with a mirror on the back of the picture
Experiment22 description
1. Print out color & bnw picture
2. Put the scan picture on top of the scanner and put the mirror behind the picture
3. Scan without closing the scanner lid
4. Make sure the results are correct
/ Scan Results


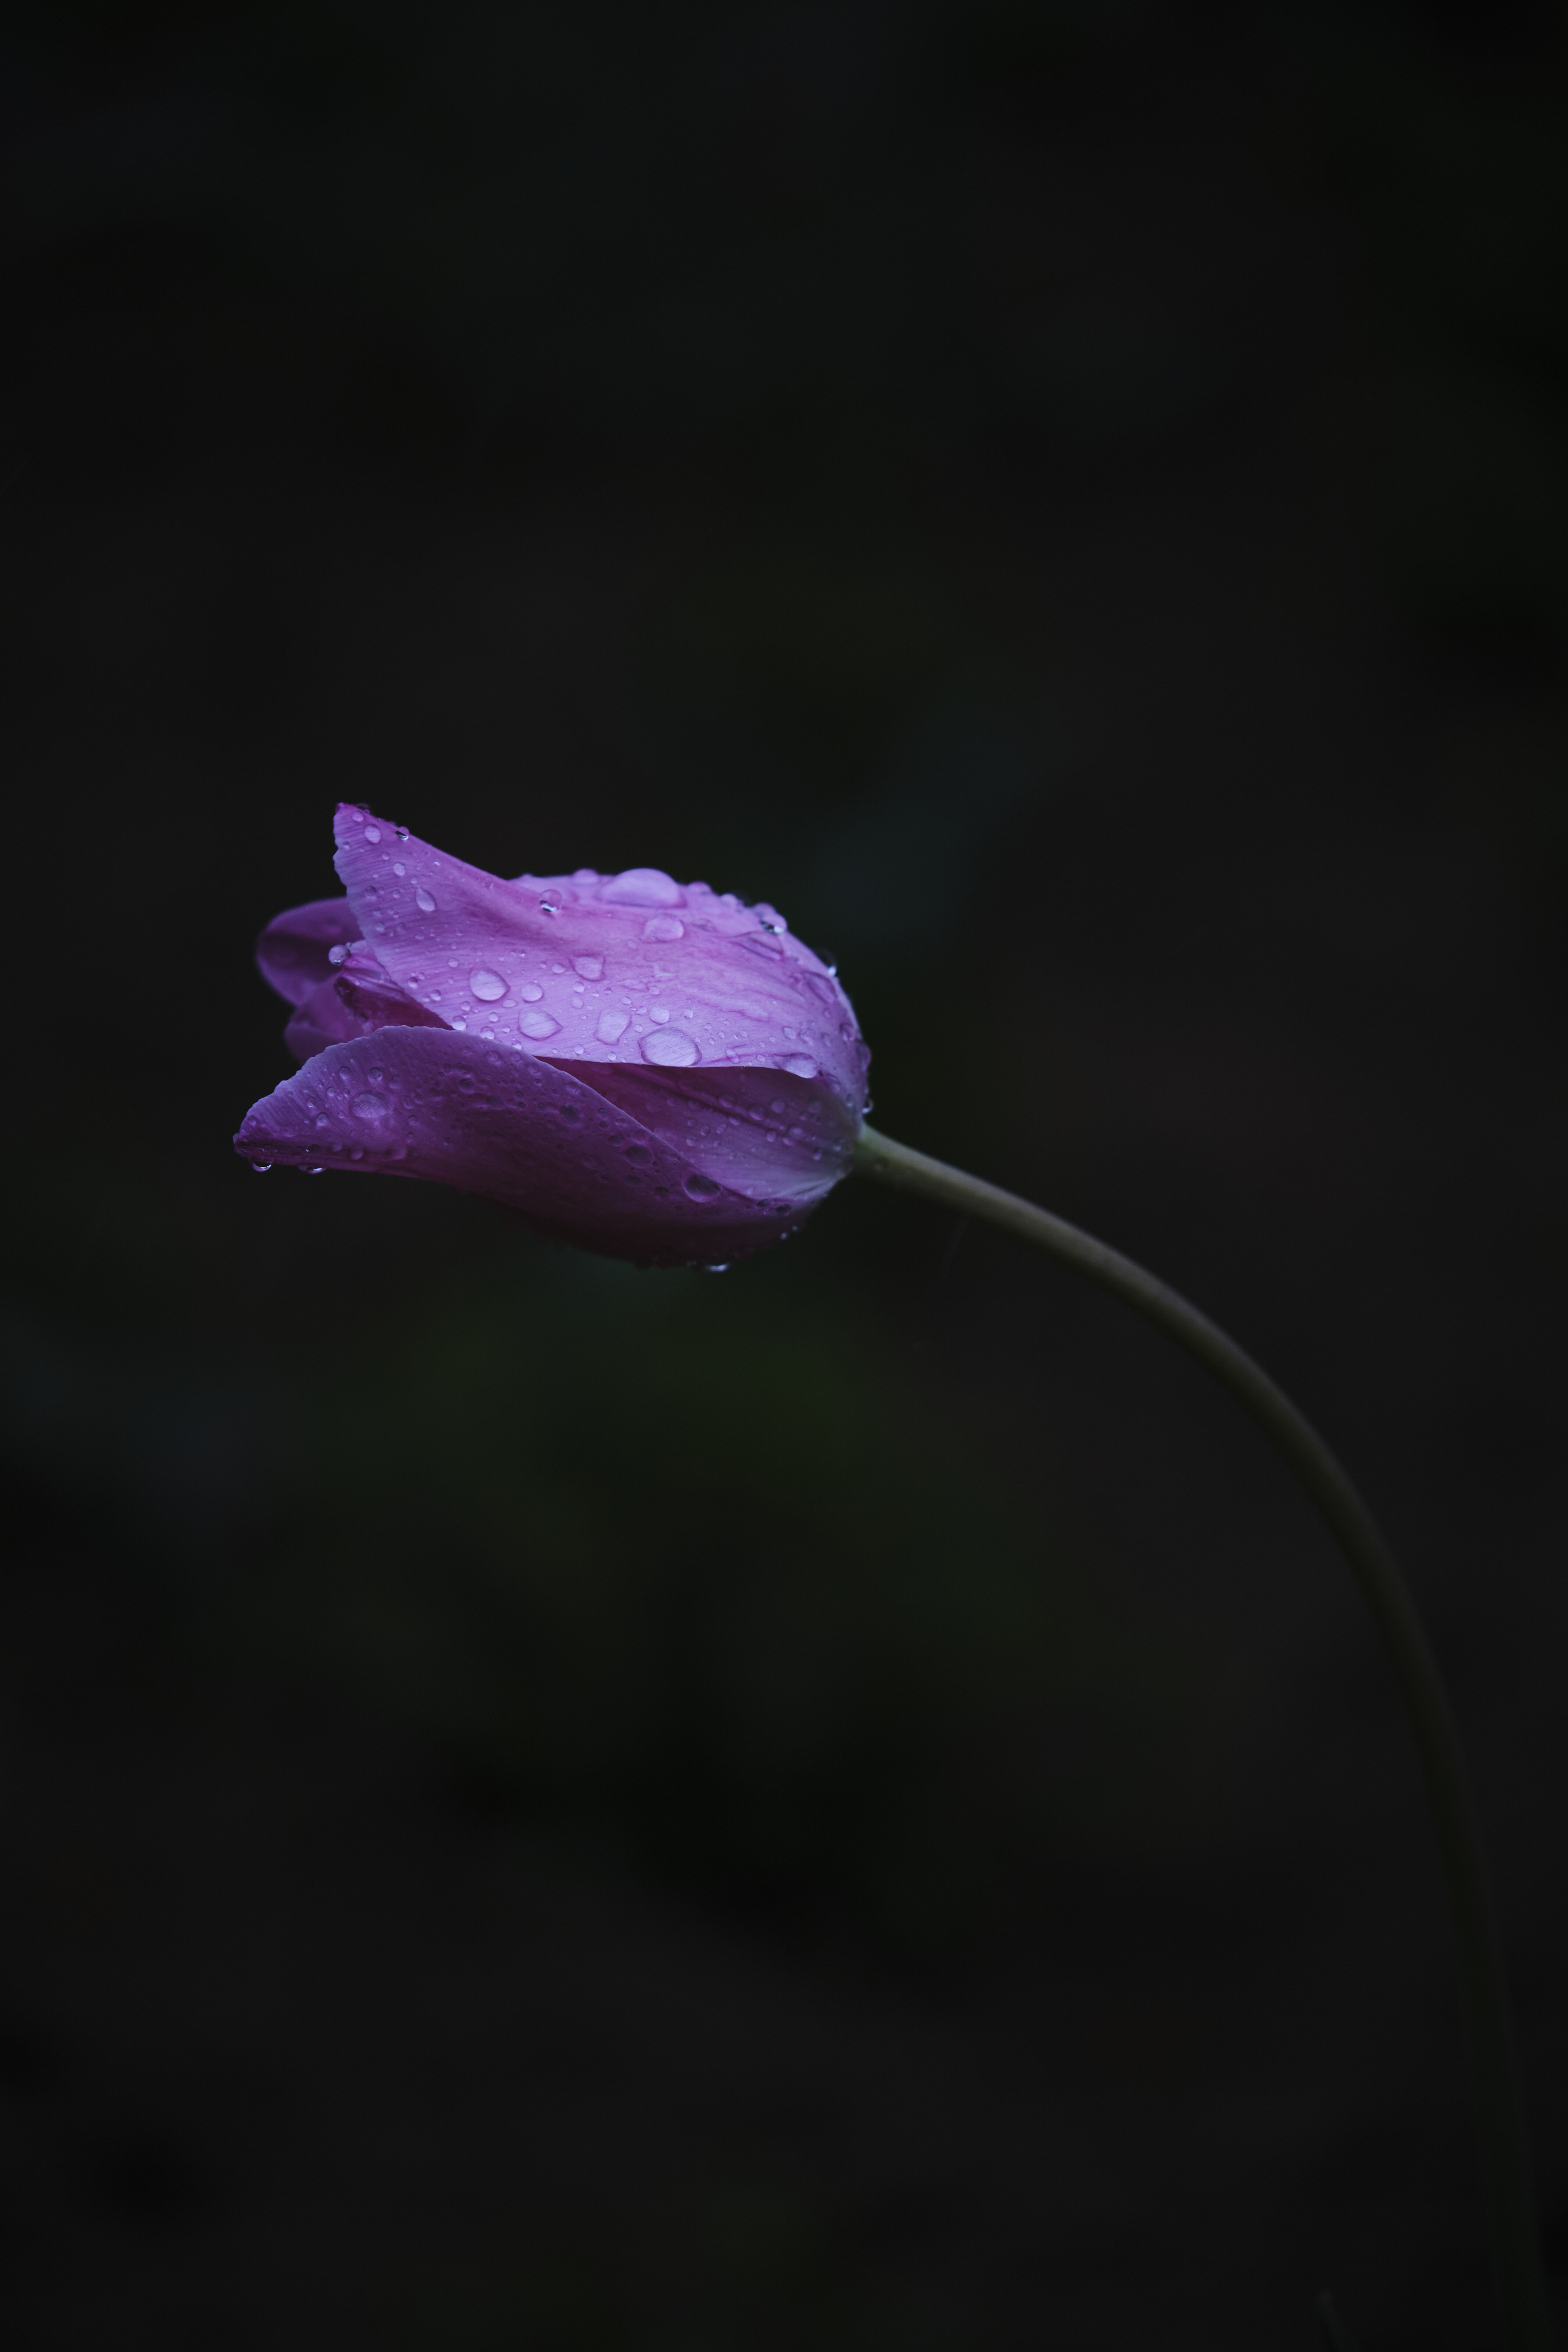
The picture above is one that often appears and mentions on my blog, because it's affectionate, and it's even more so because it's a picture that I won in a photo contest.
In the last explanation, the color photo was not mentioned, so I added a color photo this time.
Now, I'm going to show you the original color and the black-and-white photo.

I love this editing method, and I work with it frequently. And I've been working with it this way, and I was even more excited to win the photo contest, as I introduced you last time. Here's another link to the previous article.
https://idea0404.blogspot.com/2024/03/analogsparks-2023-hm-fine-art.html
I submitted this photo not only to the last AnalogSparks2023 contest, but also to other contests, and I'm waiting for the results. I'll have to wait and see what the results will be.
Experiment22 Work is very similar to Experiment21 Work. Sometimes it's hard for me to tell just by looking at the results. When I place a mirror on the back of the picture and scan it, the scanner's light is reflected by the mirror behind the picture and comes out more clearly. This work has the effect of highlighting the subject a little more. 🙏


%202024.03.01.JPG)


0 Comments
Thank you so much for visiting my blog today
Have a nice day 😊